A Step-By-Step Guide to Letterpress Printing Process ( 2022 Edition)

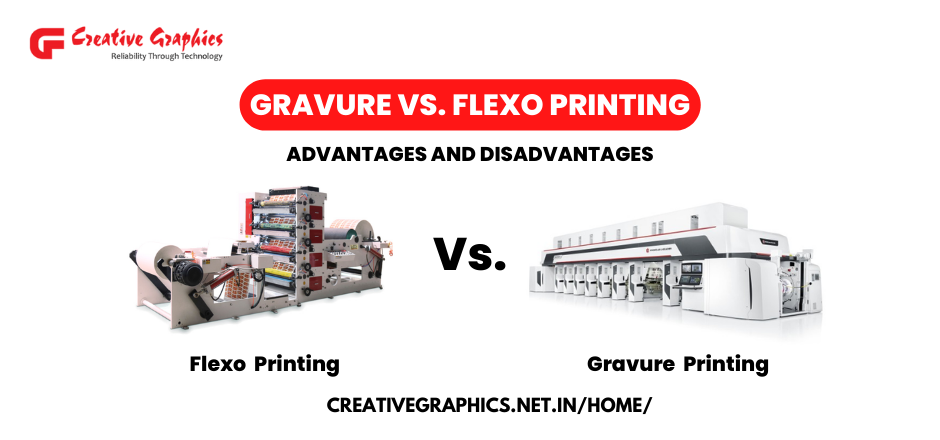
Gravure vs. Flexo Printing: Advantages and Disadvantages
July 21, 2022
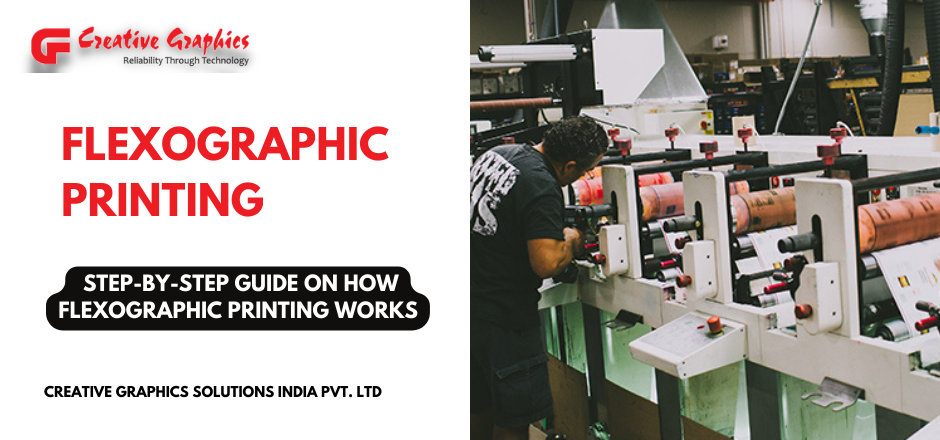
Flexographic Printing Plates: All You Need to Know
August 6, 2022
The process of letterpress printing is one that involves time and patience. In fact, you should expect to put in hours of hard work in order to be successful. The letterpress printing process is a labor-intensive process that has been used for centuries to print text and images on paper. It involves pressing ink onto paper through pressure applied by a metal type or a plate.
The process of letterpress printing can be broken down into several steps. If you follow these steps and truly take the time necessary for each step, your end result will be truly spectacular.
In this guide, we’ll tell you everything you need to know about the letterpress printing process what materials are needed, how to create your design layout and proof-type print (test print), as well as how to place the paper onto the platen in preparation for printing.
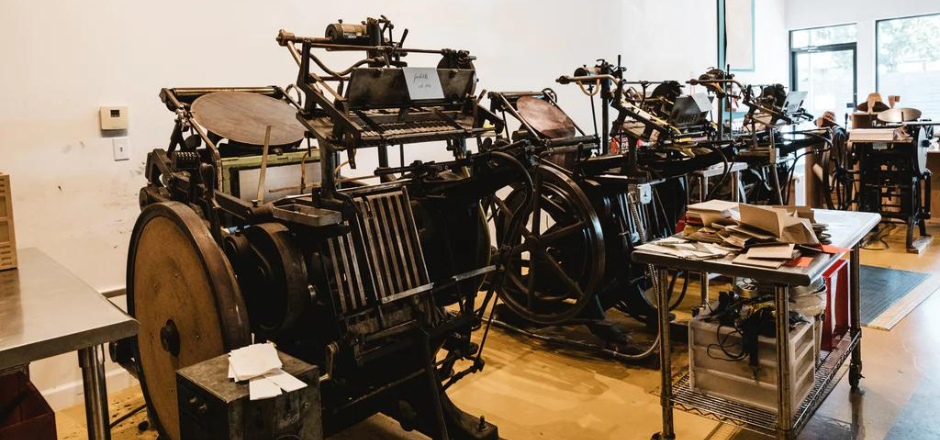
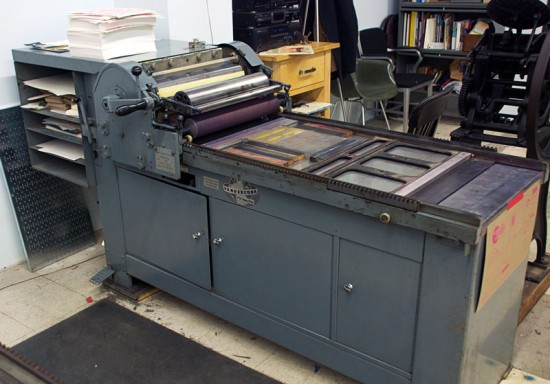
Source: Letterpress Play
The History of Letterpress Printing
The history of letterpress printing began in Germany in the 15th century. Johannes Gutenberg invented the printing press and brought it to market in 1455.
By the 18th century, letterpress machines were able to print thousands of copies per hour thanks to steam-powered presses. As technology progressed throughout the 19th century and into the 20th century, letterpress machines were increasingly replaced by offset lithography, which could print multiple colors much faster than letterpress machines could.
Letterpress is now considered a specialty business, with costs in line with other handcrafted processes. The Letterpress allowed for the mass production of books, which became much more affordable for common people.
Letterpress printing is more expensive than digital methods like offset lithography or screen-printing because it requires manual labor and specialized equipment.
The Basics of Letterpress Printing
Letterpress printing is a type of relief printing. It is also known as intaglio printing, which refers to the ink being pressed into the paper in a raised manner that creates a negative image on the page. In other words, letterpress relies on pressure and force to push an impression into the paper in order for it to hold an image or text.
For example, imagine you have a piece of paper with a pencil mark on it and then place another piece of paper over top with some sort of weight pressing down evenly so that they are both flat against one another. If you were to use your finger (or another object/tool) to gently rub across both pieces at once, what would happen? The pencil mark would be transferred onto both pieces! That’s how letterpress works!
Letterpress is a printing process that adds permanence to your design by using raised areas of ink on your printed piece. Some of the biggest benefits of letterpress printing are its ability to last for 100’s years, its interesting texture, and the beauty of the finished product.
This can make letterpress one of the best options for you if you’re looking to print high-quality materials such as business cards, invitations, and even business stationery.
Materials Used in Letterpress Printing
To begin, a letterpress printing machine needs three key materials Paper, Ink, and Type.
Paper:
Paper is used for printing and can be made of a variety of different materials. You should choose the correct type of paper for your job based on its size, texture, and color.
The right kind of paper will help you achieve the best possible results. For example, if you’re using dark-colored ink with text that requires sharp definition in order to be read clearly on the page (such as this article), then it would be beneficial to use high-quality white cotton rag paper rather than newsprint or recycled paper stock.
Ink:
Ink is what allows words or images printed onto a surface to take form before your eyes and when you’re working with letterpress machines. The ink comes in many different colors and can be purchased as a liquid or a powder.
The liquid ink has to be mixed with water before it can be used, while the powder is mixed with water before it’s applied to paper or other surfaces.
The ink can be water-based or oil-based, depending on the type of paper being used. Oil-based inks work best when printing on absorbent papers such as cotton rags or matte-coated stock.
Water-based inks work well with glossy coated papers because they have a higher resistance to bleeding and smearing than oil-based inks do. Some printers use both types of ink on their presses one color for text and another color for images and photos.
Type:
Letterpress printing is done using a combination of metal and wood types, and the process can be quite complex. In fact, letterpress printers are often considered to be some of the most skilled in all printmaking.
Metal type is used to create raised letters on a piece of paper, which means that each letter has an impression on one side of the paper and no impression on the other side. This creates a raised surface when it is printed on an offset press.
Wood type is used for text blocks because it can be used over and over again until it wears out or loses its shape from repeated use. Wood type is also used for decorative purposes such as making borders around text blocks or creating borders around entire pages so that readers can see where each section begins and ends without having to read through everything first (or even go back).
Process of Letterpress Printing
Letterpress is a printing technique that uses a movable type printing press to print fonts in ink on paper. This print method can give a very high impression of paper colors and very unique prints. The process of letterpress printing itself goes through several steps from creating a design layout to setting the type and plating the plate, casting the plate, etc. Today I’m going to go over the basic steps of letterpress printing.
Source: ohsobeautifulpaper.com
Step 1: Create the Design Layout
Once you have an idea of what you want your design to be, the next step is to create the layout for it.
The design layout is the most important part of a letterpress printed piece because it’s what defines the overall appearance and feel of your final product. When you’re designing your layout, keep in mind that there are two main factors to take into account size and color.
You’ll want to ensure that your design fits within the space available on the page, for example, and you’ll also want to consider how color will affect how it looks when printed.
You can do this by hand, or use a computer program that makes creating layouts easier. If you’re designing for letterpress printing, then you should consider using a vector-based program like Adobe Illustrator or Adobe InDesign to design your layout.
This will give you more flexibility when it comes to resizing your image without losing the quality of resolution (which can happen if you use another type of software).
If not using these types of programs but are still working with vector graphics (like Adobe Flash), then make sure that any text elements within each individual frame can be scaled up or down without losing legibility so they can be read easily by anyone who looks at them later on down the line!
Once you have created your layout, make sure it’s ready for printing:
Step 2: Produce a Proof-type Print (Test Print)
After you’ve completed your design, it is time to produce a proof-type print. This is a print of the type, which is made by the printer. The purpose of this step is to check the quality of the type and make sure that it is the correct size and spacing.
The process for creating a test print varies depending on whether you have chosen metal or wood type as your medium. If you are using wood type, then there are several steps that need to be taken before getting started with this process:
Step 3: Ink the Type or Plate
Inking the type or plate is the final step before your design is ready to be transferred to paper.
Inking the type or plate is a process that involves applying ink to the surface of your plates or typeset letters. The inking process is done with a roller, which distributes ink evenly over the surface of your letters and makes them ready for printing.
The ink can be applied by hand or with an electric press (if you have one). We’ll cover how this process works for each of these methods
Step 4: Positioning the Paper on Platen
The next step is to position your paper on the platen and make sure it’s properly aligned. This will ensure that all of your text is printed in the right place and with no mistakes.
To do this, first check that the paper has been placed on top of the ink rollers so that it’s facing upwards towards the platen, with its edges hanging over the sides. If it isn’t, reposition it so that it is tuned correctly.
Then move the platen into position over top of the paper you should have an inch or two hanging off each side of the plate so that you can easily grab them later on when you’re ready for printing!
Once everything is lined up, you’re ready for step 5!
Step 5: Lowering the Press on Paper
To complete this step, you will place a sheet of paper on the platen and lower the press. The press is lowered by hand with a crank located on top of the letterpress.
In order to properly place your paper onto the platen, use your hands to gently guide it into place once it has been lowered into position. Be sure not to touch any part of the press until all adjustments have been made and locked in place.
Step 6: Cleaning Up After Using the Press
Now that you have printed your job, it’s time to clean up!
- Clean the ink off of your type or plate by wetting a rag with warm water and wiping away any remaining ink
- Clean out the ink tray on your press and make sure no residual ink remains inside it
- Use a dry rag to wipe down all of your tools (ink roller, blanket) so that they are ready for next time
- If there is still any visible ink residue from printing on parts of the press bed, use a damp rag to wipe it off
- If there is still any visible ink residue from printing on parts near where the paper will be placed during normal operation (the platen), use a damp rag to wipe it off
Choosing Right Printing Solutions
Choosing the right printing solution for your needs can be tricky. There are a lot of options out there, and some of them might seem better than others. However, if you’re looking to get the best bang for your buck and make sure that your printing job is done right without any hassle you need to know what to look for in a printer.
At CG Premedia, we have over years of experience printing our clients’ products and making sure they look their best. We’ve worked with a wide range of clients, from small businesses to large corporations, and we know how important it is for your business to have high-quality print products that match the quality of your service or product.
Our team works with you to create the best possible printing solution for your needs. Whether that means printing in-house or outsourcing to an outside printer, we’ll work together to find the right solution for whatever you need. If you need any printing Contact us right now
Conclusion
Letterpress printing is a wonderful craft, but it is also a complicated process. From choosing the right paper to mixing the ink, there are a lot of steps involved. The good news is that, with some practice and care, you can get the hang of it! Print away and enjoy!
As you can see, the process of letterpress printing is not complicated. It’s a great way to get your message out there and make a lasting impression on your audience!